Quadlet
What is Quadlet?

Quadlet is a features of podman that allows a user to run a container as systemd units. It works by using a declarative syntax like docker compose but integrates to systemd and use podman as a backend.
Quick Example:
Create a file called ~/.config/containers/systemd/nginx.container with content below.
[Container]
ContainerName=nginx
Image=docker.io/nginxinc/nginx-unprivileged
PublishPort=8080:8080
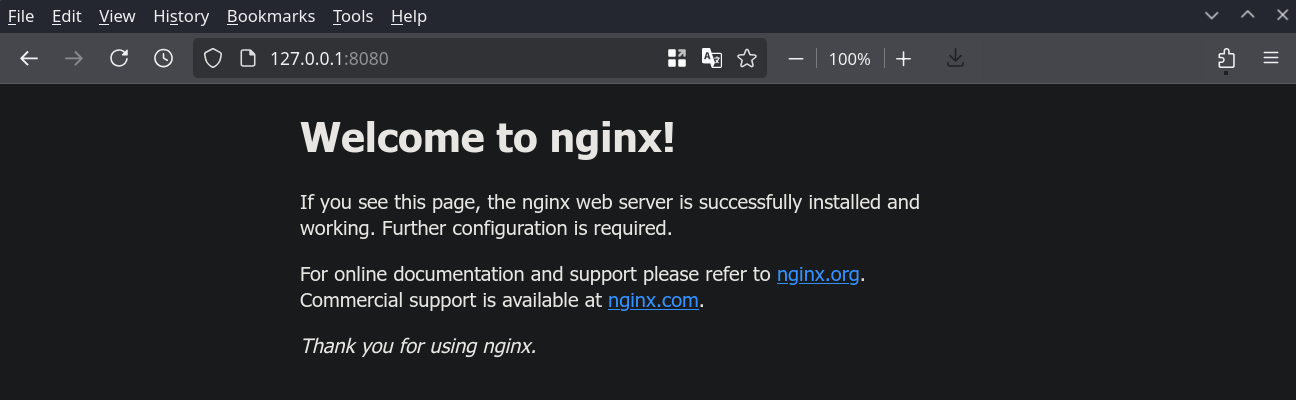
Save it and run the code below.
systemctl --user daemon-reload
systemctl --user start nginx
xdg-open localhost:8080
Use Cases
Quadlet can be used for application packaged as container such as server application. You can find a lot of example of containerized application from Linux Server.
Managing Quadlet
Quadlet can be managed like any other systemd service using below command.
Checking quadlet status
systemctl --user status nginx
Stopping quadlet
systemctl --user stop nginx
You can see more command in man systemctl or tldr systemctl.
Quadlet file location
You can put your quadlet in these location sorted by priority.
- $XDG_RUNTIME_DIR/containers/systemd/ - Usually used for temporary quadlet
- ~/.config/containers/systemd/ - Recommended location
- /etc/containers/systemd/users/$(UID)
- /etc/containers/systemd/users/
Note
If you want your service to start even when you are not logged in, run loginctl enable-linger $USER to start it automatically.
Running Quadlet on Startup
You may want to run your quadlet automatically on startup, just add an install section to the quadlet file if you want it to autostart. Most of the time default.target is what you want but if you need other target you can read on systemd docs.
[Install]
WantedBy=default.target
For example:
[Container]
ContainerName=nginx
Image=docker.io/nginxinc/nginx-unprivileged
PublishPort=8080:8080

[Install]
WantedBy=default.target
Note
You don't need to run systemctl enable as the service file are generated. You also cannot run it anyway.
Converting Docker Compose to Quadlet Unit
You will find that most of containerized app in the web are built using docker compose. Even the Linux Server that is linked above have all container documented using compose file. So you will need to convert it first before running it as quadlet, fortunately you can use podlet to help converting it.
Note
By default quadlet require full repository name. Most image are in docker hub so you can just add docker.io/ (e.g "nginxinc/nginx-unprivileged" become "docker.io/nginxinc/nginx-unprivileged")
Running Rootful Container as Quadlet
While ideally you would run all container using rootless podman, sadly not all container will work with it. If you noticed in the beginning, this guide used nginx-unprivileged rather than the normal nginx, this because it needs root to function. To use rootful podman, you will need to use different quadlet path and run using root systemctl (without --user).
Rootful Quadlet Path
- /run/containers/systemd/ - Temporary quadlet
- /etc/containers/systemd/ - Recommended location
- /usr/share/containers/systemd/ - Image defined
Common Quadlet Key Description
| Option | Example | Description |
|---|---|---|
| ContainerName | ContainerName=nginx | Name of the container. |
| Image | Image=docker.io/nginxinc/nginx-unprivileged | Container image that you want to use. |
| PublishPort | PublishPort=8080:8080 | Port opened by container. (HOST_PORT:CONTAINER_PORT) |
| Volume | Volume=/path/to/data:/data:z | Link host folder with container folder. (HOST_FOLDER:CONTAINER_FOLDER:OPTION) |
| Network | Network=host | Network used by container. The value can be host, none, or user defined network name |
Note
The z option in volume is to prevent selinux from blocking access to the folder. You can read more here.
Example
Minecraft Server
Documentation: https://docker-minecraft-server.readthedocs.io/en/latest
Quadlet File:
[Container]
ContainerName=minecraft
Environment=EULA=TRUE
Image=docker.io/itzg/minecraft-server
PublishPort=25565:25565
Volume=/path/to/data:/data:z

# Remove if you don't want autostart
[Install]
WantedBy=default.target
Note
Use absolute path for volume, e.g /home/username/minecraft/data.
Plex Server
Documentation: https://github.com/plexinc/pms-docker
Quadlet File:
[Container]
ContainerName=plex
Environment=TZ=Your/TimeZone
Image=docker.io/plexinc/pms-docker
Network=host
Volume=/path/to/config:/config:z
Volume=/path/to/transcode:/transcode:z
Volume=/path/to/media:/data:z

# Remove if you don't want autostart
[Install]
WantedBy=default.target
Note
You can find list of timezone here.
Note
Use absolute path for volume, e.g /home/username/plex/config.
Note
You can mount multiple volume for your media, e.g Volume=/path/to/media:/tv:z and Volume=/path/to/another/media:/movie:z. Consult the documentation for more info.
Project Website
Useful Links
- https://docs.podman.io/en/stable/markdown/podman-systemd.unit.5.html
- https://www.redhat.com/en/blog/quadlet-podman