Legacy ISO Installation Guide
Legacy ISOs Only
This guide is only for the legacy ISOs which are still supported at this time due to the new installer not supporting manual partitioning and some small bugs that are still present in the new installer.
System Requirements
- Read the Hardware Compatibility Guide for Bazzite's system requirements.
- Secure Boot and Trusted Platform Module (TPM) are supported on most hardware, but you must enroll our key during or after installation.
- Dual-booting with Windows is also supported.
Installer Requirements
- A way to download the Bazzite ISO
- A download manager (like Motrix) if the direct download for the Bazzite ISO fails or is downloading too slow.
- A 16GB+ bootable medium like a Flash Drive
- Booting from a SD or microSD card may work, but not all firmware support this.
- One of the following programs to flash/boot the ISO:
- Fedora Media Writer (recommended) (Windows/macOS, Linux)
- Rufus (Windows)
- Ventoy (Windows, Linux) (note: Ventoy needs extra steps for Secure Boot Support to work)
- A physical wired keyboard is recommended and required for devices without a touchscreen.
- Otherwise, create a User Account with a username and a user password if you have a keyboard.
Desktop Environments
All of the images come with the choice of KDE Plasma or GNOME for their desktop environment.
Steam Gaming Mode is an option as an additional session in addition to KDE Plasma or GNOME and is recommended for Home Theatre PC (HTPC) and handheld setups.
More information can be found on the Bazzite FAQ about the differences between the image variants.
KDE Plasma (Default)
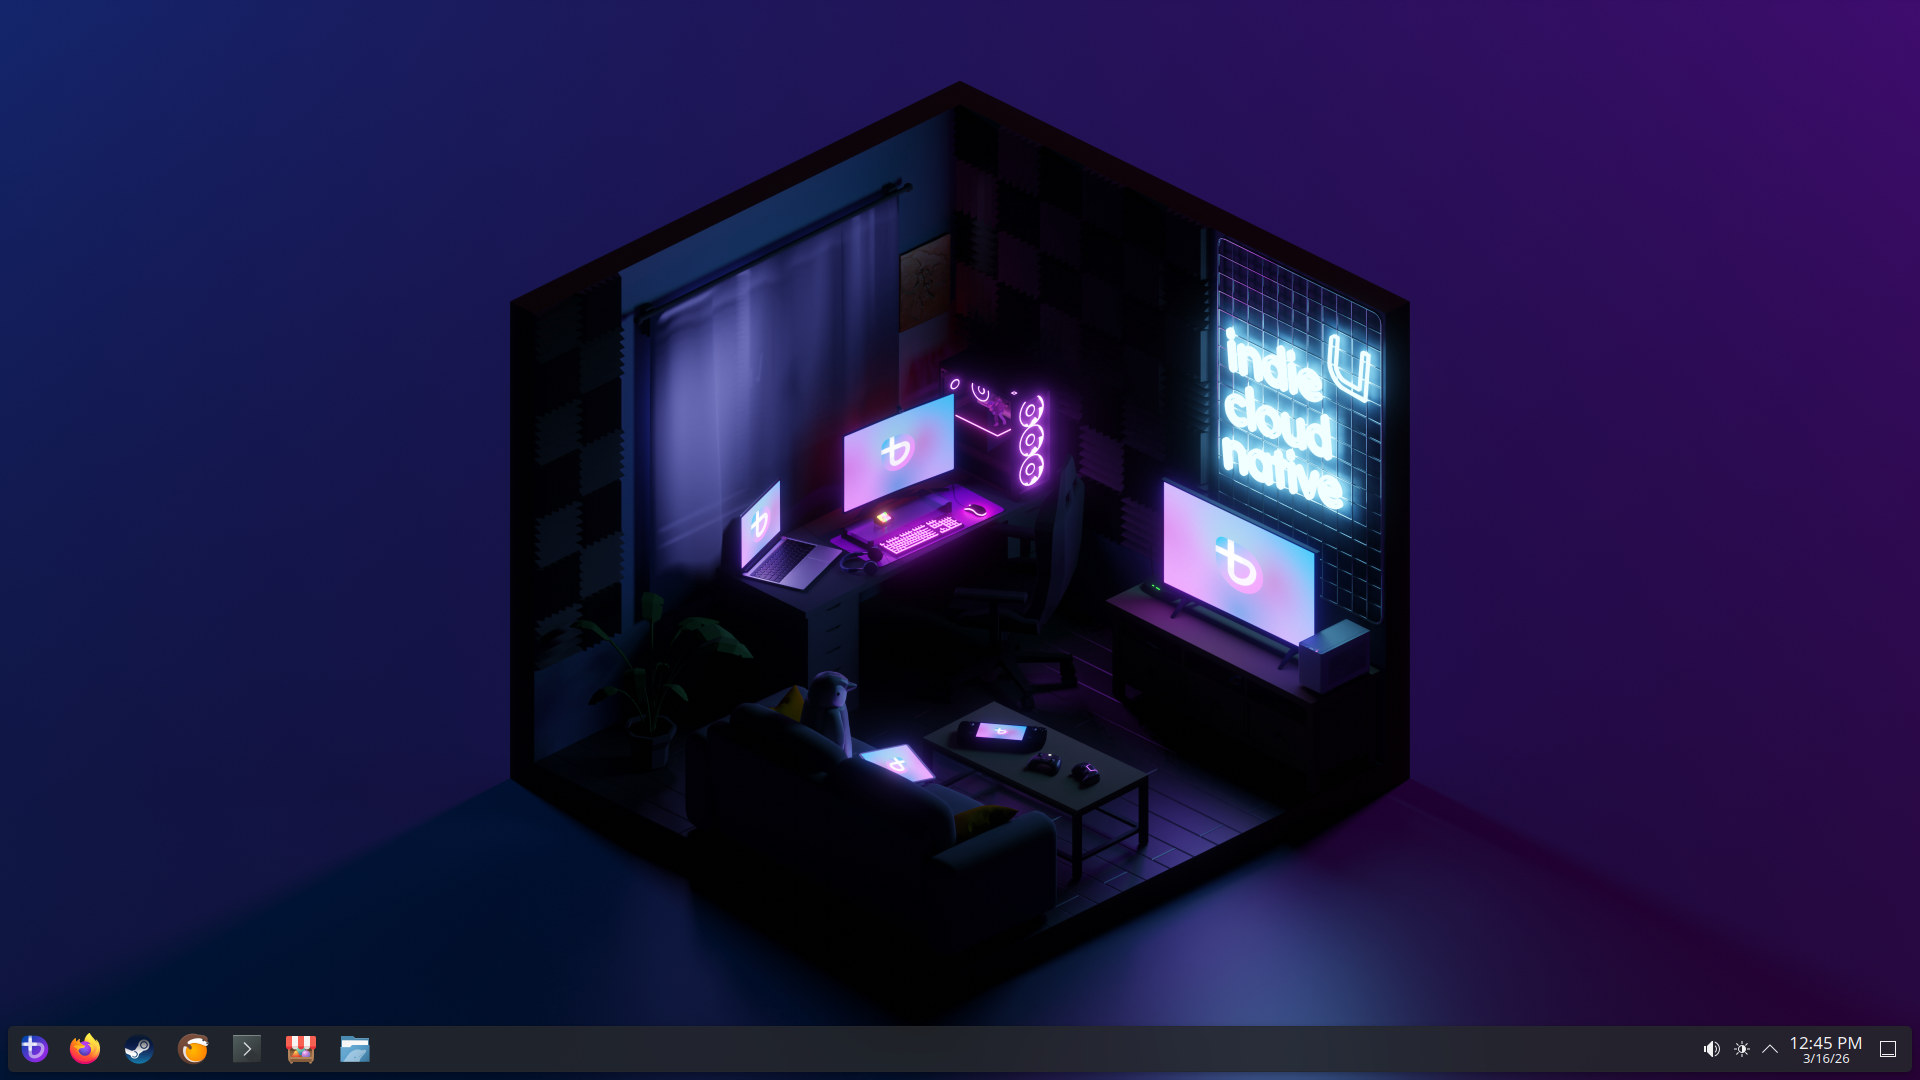
- KDE Plasma's default interface has a traditional and familiar layout
- Highly customizable with tons of settings
- Qt framework
- Popular Linux distributions like SteamOS use KDE Plasma
GNOME (-gnome images)
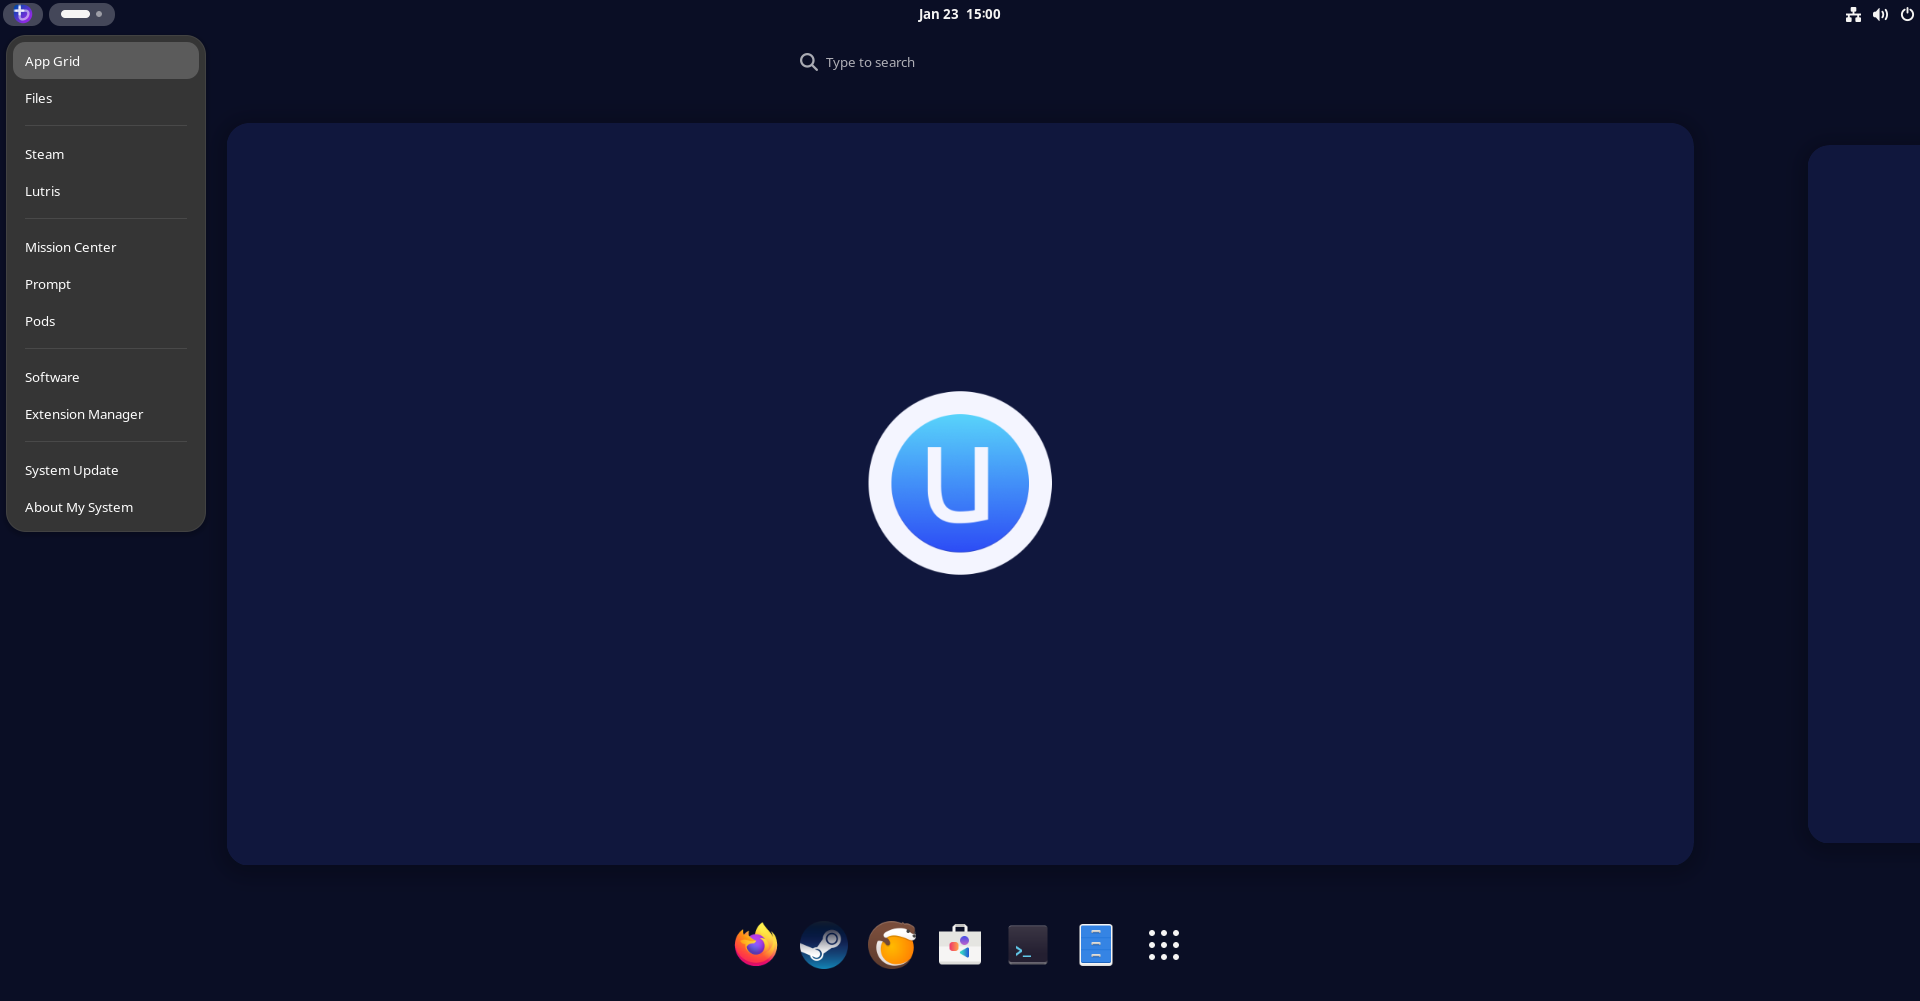
- GNOME's default interface has an elegant and touch-friendly layout
- Simple and concise
- GTK framework
- Popular Linux distributions like Ubuntu use GNOME
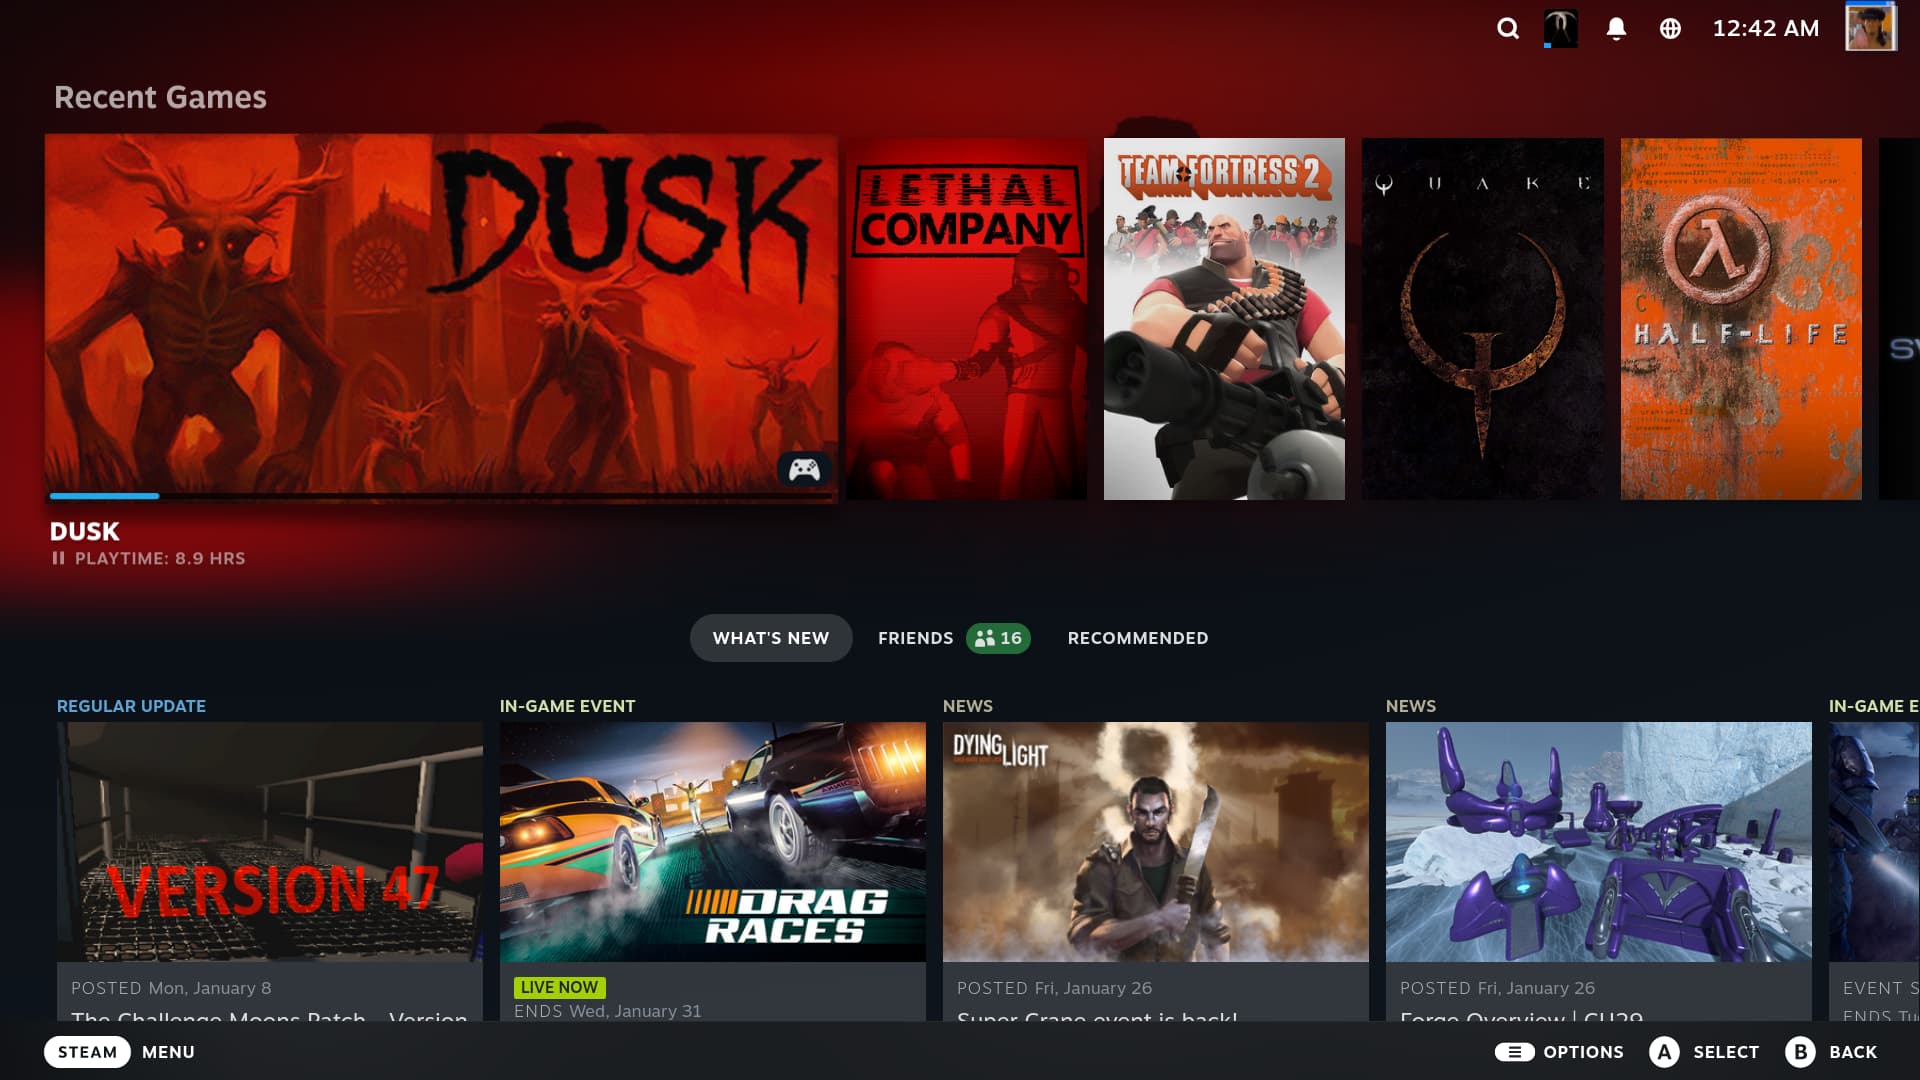
Steam Gaming Mode (-deck images)
Note
Your device will automatically boot into the Steam Gaming Mode session at startup, and Desktop Mode can be accessed from the "power menu" in Steam Gaming Mode.
- Requires a Steam account
- Included in the Bazzite-Deck images
- Interface is designed for handheld and couch gaming
- Controller friendly
- Choice of KDE Plasma or GNOME as the Desktop Mode session
- Extra functionality with Decky plugins (See all plugins)
0. Backup Data
Make sure to backup your personal data from the drive you plan to install Bazzite on to a safe place before proceeding with the installation.
1. Download and Flash Legacy ISO
- Download Bazzite after choosing the correct ISO for your hardware with our Image Picker tool.
- Flash Bazzite to your bootable medium.
- Eject the drive after flashing the ISO.
Calculating ISO SHA256 Checksum Hash
Video Tutorial:
2. Boot Bazzite
- Connect your bootable medium to your device and boot into it.
- After connecting the device, boot into the Bazzite installer.
- This depends on your motherboard hardware, but most of the time it could be a function key like F9 or similar.
- Sometimes you need to consult the manual, look up your device online, or read any hotkeys that appear when you boot your PC.
- Alternatively change the BIOS settings to boot with your bootable device first before your current storage, but this is not recommended to keep enabled after installing Bazzite.
- Sometimes you need to consult the manual, look up your device online, or read any hotkeys that appear when you boot your PC.
- Verify the media correctly and proceed to the installer.
Handheld Devices
Hold the 'Volume Down' (-) button and click the Power Button, and when you hear the chime, let go of both buttons, and you'll be booted into the Boot Manager. When you get to the boot menu, select your bootable device to boot into the Bazzite installer.
3. Inside the Installation Medium
Installing Bazzite without a physical keyboard connected to your device:
If you do not have a USB physical keyboard connected, do NOT press "User Creation", since it will remove the default username and password, and you will be unable to type a username or password without a physical keyboard.
default user: bazzite
default password: bazzite

- Select your language, region, keyboard layout, and time zone.
- Select the drive that Bazzite is going to be installed on.
- Delete any partitions that you have remaining on the drive unless dual booting on the same drive.
- Recommended to use the automatic storage configuration unless dual booting on the same drive.
- Optionally encrypt the drive with a password if desired.
- If you lose this password, then it cannot be decrypted.
- A PHYSICAL WIRED KEYBOARD IS REQUIRED TO UNLOCK THE DEVICE!
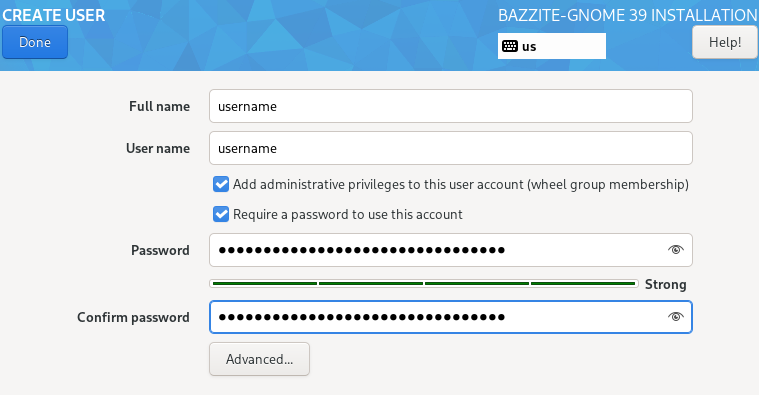
- Setup a user account.
- Give administrative privileges and set a user password.
- Begin the installation.
- Reboot device after it has finished installing.
Dual Booting
Note
Skip this section if you plan to install Bazzite without dual-booting Windows.
Dual-Booting Windows
For dual booting Windows on separate drives, use your motherboard's UEFI boot menu as the GRUB bootloader may not recognize each boot entry correctly.
Video Walkthrough
Written Walkthrough
- Installing Bazzite with a shared drive.
- Installing Bazzite on a separate drive.
- (In Windows) Disable Bitlocker encryption and fastboot, and reboot.
- (In Windows) Resize the Windows partition with the Disk Management app to have enough space for Bazzite.
Usually should look something like this:

Source: diskpart.com - Run the Bazzite installer with the automatic partitioning option.
- Reboot into Bazzite and run
ujust regenerate-grubin the terminal to add Windows to the GRUB.
- (In Windows) Resize the Windows partition with the Disk Management app to have enough space for Bazzite.
Usually should look something like this:
Source: diskpart.com - Run the Bazzite installer with manual partitioning
- Reboot into Bazzite and run
ujust regenerate-grubin the terminal to add Windows to the GRUB.
When a dedicated drive is feasible, this method is recommended.
Install Bazzite on a separate internal or external drive.
- Install the other operating system on a drive (like Windows).
- Install Bazzite on a second drive.
- Set Bazzite as the default in your boot order (optional).
If you install Windows second, you should disconnect the Bazzite drive to prevent using the Windows installer of using its EFI partition.
You can also install Windows to an external drive with Windows-to-Go using Rufus to dual boot if you do not have an internal drive available.
If you install Windows after Bazzite, you can restore Bazzite's bootloader with the Bootloader Restoring Tool in the Live ISO.
Manual Partitioning Instructions
Only users who are dual booting on the same drive should use these instructions. Automatic partitioning is preferred in other cases.
Bazzite only supports the BTRFS filesystem for /.
If you need a tutorial video for manual partitioning, watch this tutorial at timestamp 9:10.
- Select Installation Destination
- Select
Advanced Custom(Blivet-GUI)under Storage Configuration.

- Create the following partitions and devices:
- /boot/efi

mount point: /boot/efi format: EFI system partition size: 300MB - /boot

mount point: /boot format: ext4 size: 2GB - btrfs partition

mount point: format: btrfs size: [max] - /
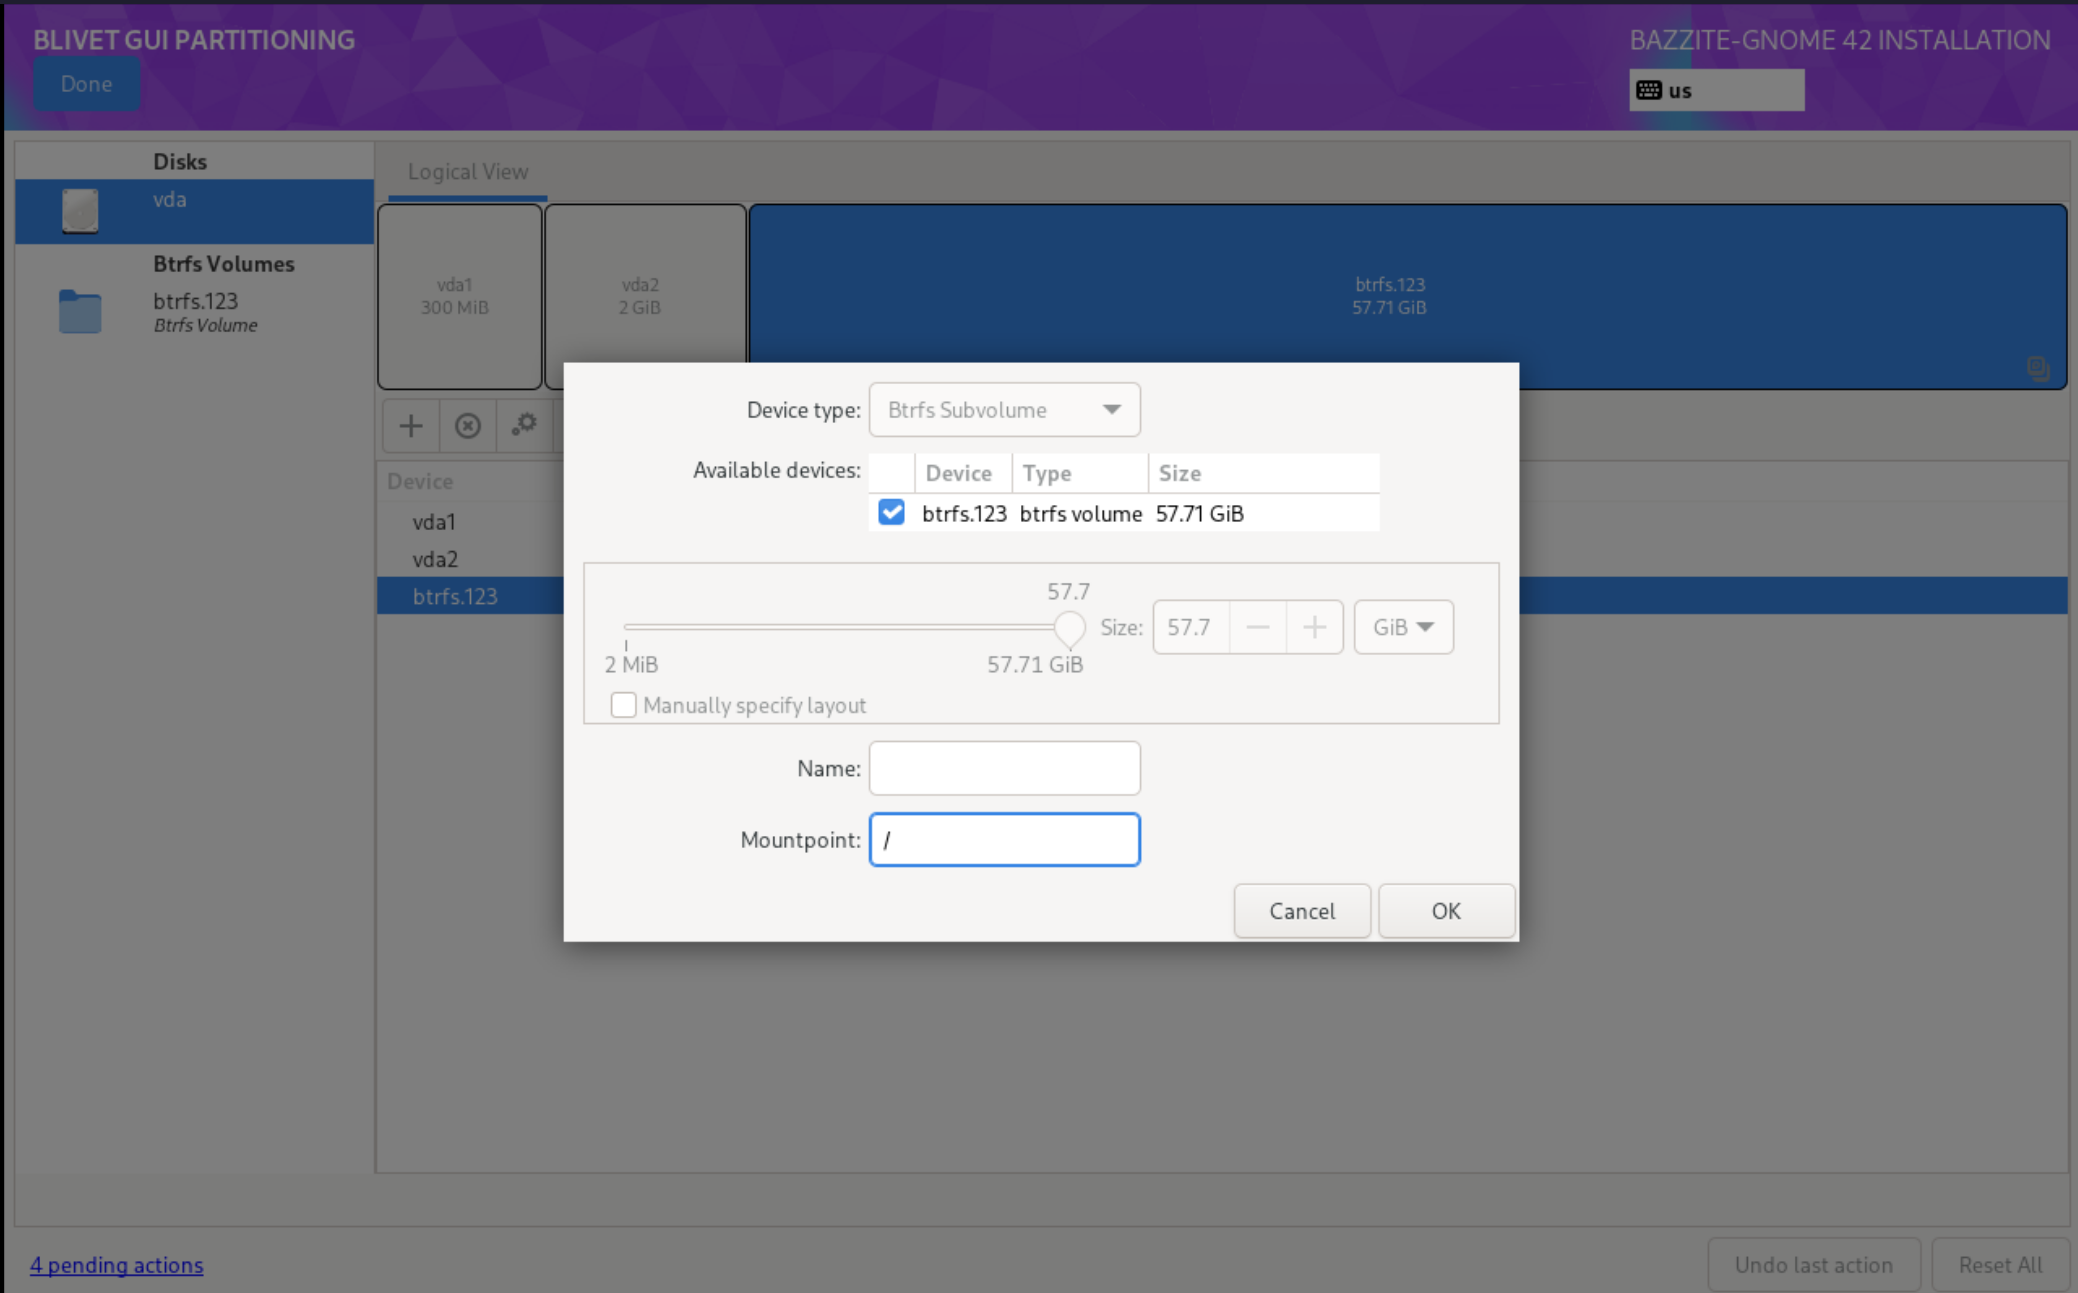
mount point: / format: btrfs (subvolume) - /var

mount point: /var format: btrfs (subvolume) - /var/home

mount point: /var/home
format:      btrfs (subvolume)
- /boot/efi
- Select Done
- Select Accept Changes
- Continue with the installation.
Dual booting other Linux operating systems
Note
Dual booting with other Linux distributions, especially non-atomic Fedora, is not officially supported. It is recommended to use your motherboard's UEFI boot menu or to forgo dual booting entirely to avoid unexpected issues. If something does go wrong, restore Bazzite's bootloader using the Bootloader Restoring Tool in the Live ISO.
For Fedora Atomic Desktop images on the same drive: to dual boot another Fedora Atomic Desktop image (like Bluefin) installed alongside Bazzite, you must make an additional EFI partition and switch between them through your motherboard's UEFI boot menu.
For dual booting on separate drives:
Use your motherboard's UEFI boot menu as the GRUB bootloader may not recognize each boot entry correctly.
Secure Boot
Note
Skip this section if Secure Boot is not enabled or unsupported with your hardware.
Important
The enrollment prompt uses an English QWERTY keyboard layout, indiscriminately of your actual hardware keyboard. Other layouts can therefore interfere with the characters of the password (i.e. A and Q are swapped on AZERTY layouts).
Bazzite supports Secure Boot however Universal Blue's key must be enrolled to use it otherwise keeping Secure Boot on in your BIOS will result in Bazzite not booting.
Important Secure Boot Notes:
- Entering the password will register invisible characters for security purposes, so you will not be able to see what you are typing!
- Updating your BIOS may re-enable Secure Boot and you may have to follow "Method B" after updating it to resolve the black screen on boot complaining about loading the kernel first.
- The Steam Deck does not come with secure boot enabled and does not ship with any keys enrolled by default, do not enable Secure Boot on your Steam Deck unless you absolutely know what you're doing.
Error Message (if key is not enrolled properly):
error: ../../grub-core/kern/efi/sb.c:182:bad shim signature.
error: ../../grub-core/loader/1389/efi/linux.c:256:you need to load the kernel first.

Press any key to continue...
Follow Method B below to resolve this and move past the error message if you encounter it.
Method A - During Installation Method

Note
This screen will also appear on the next boot if you enable Secure Boot if it was disabled during installation.
A blue screen will appear giving the option to enroll the signed keys after leaving the Bazzite installer.
Enroll MOK if you have secure boot enabled. If prompted to enter a password, then enter:
universalblue
Otherwise Continue boot if you have Secure Boot disabled or if it is not supported with your hardware.
Method B - After Installation Method
Disable Secure Boot in the BIOS before proceeding, and then re-enable it after enrolling the key.
If you have already installed Bazzite then enter this command in a host terminal:
ujust enroll-secure-boot-key
If prompted to enroll the required key, then enter the password in the host terminal:
universalblue
You can now turn Secure Boot back on in the BIOS.
Use the following command to boot straight into your system's BIOS (if supported):
ujust bios
Complete MOK enrollment at boot
On the next boot, you will see the blue MokManager screen:
- Choose Enroll MOK.
- When prompted for a password, enter:
universalblue
After the reboot, the key is enrolled and Secure Boot can remain enabled. Your system should now boot normally under Secure Boot.
Troubleshooting Installation:
Read the Troubleshooting Guide or the Alternative Installation Guide for installation workarounds.
Post-Installation
Bazzite is now installed. Read the Post-Installation Guide for recommended next steps or start gaming!